Setting up Aivero services on Router
In an air-gapped setup we want the router to be able to resolve some domains that pertain to Aivero's services. In this guide we will configure them.
In the following guide we will setup:
Static DHCPfor the server's IP - this allows for a stable server IP, so that it doesn't change.Static DNSentry - this allows for any machine that connects to the router to be able to resolve the server's domain (e.g. ds.aivero.lan).NTP Serveraddress which guarantees device-to-device synchronization for the router connected devices.
Step 1 - Setup server static DHCP entry.
-
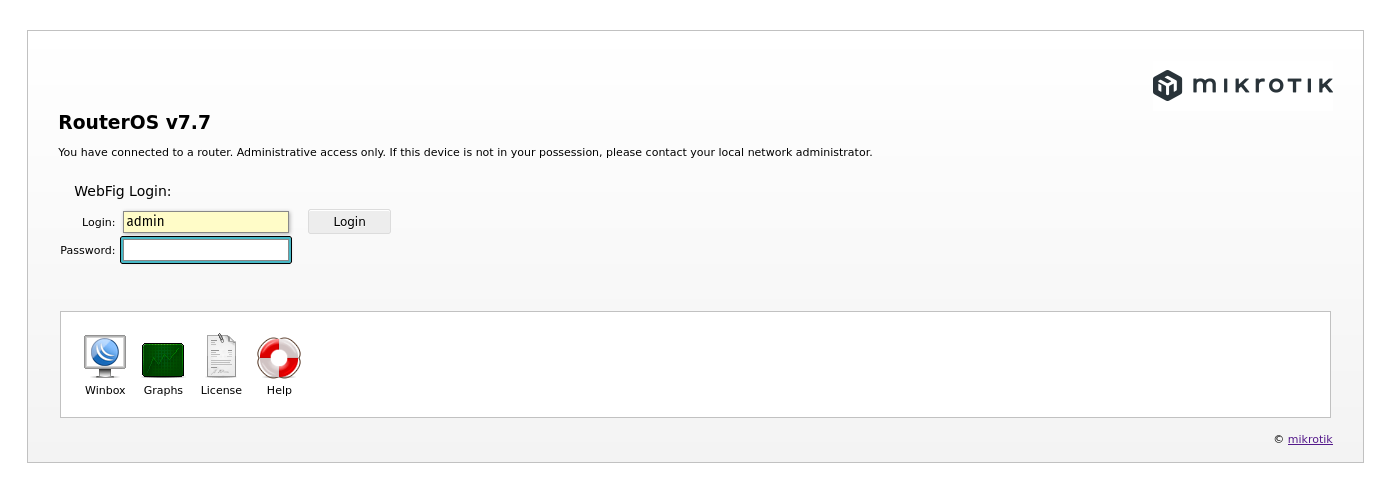
In a router connected machine, access
192.168.88.1in your browser and login using the user configured credentials (loginadminand empty password in our case).
-
On the vertical menu on the left got to
IP>DHCP Server. -
On the tabs on the top of the page click on
Leases.
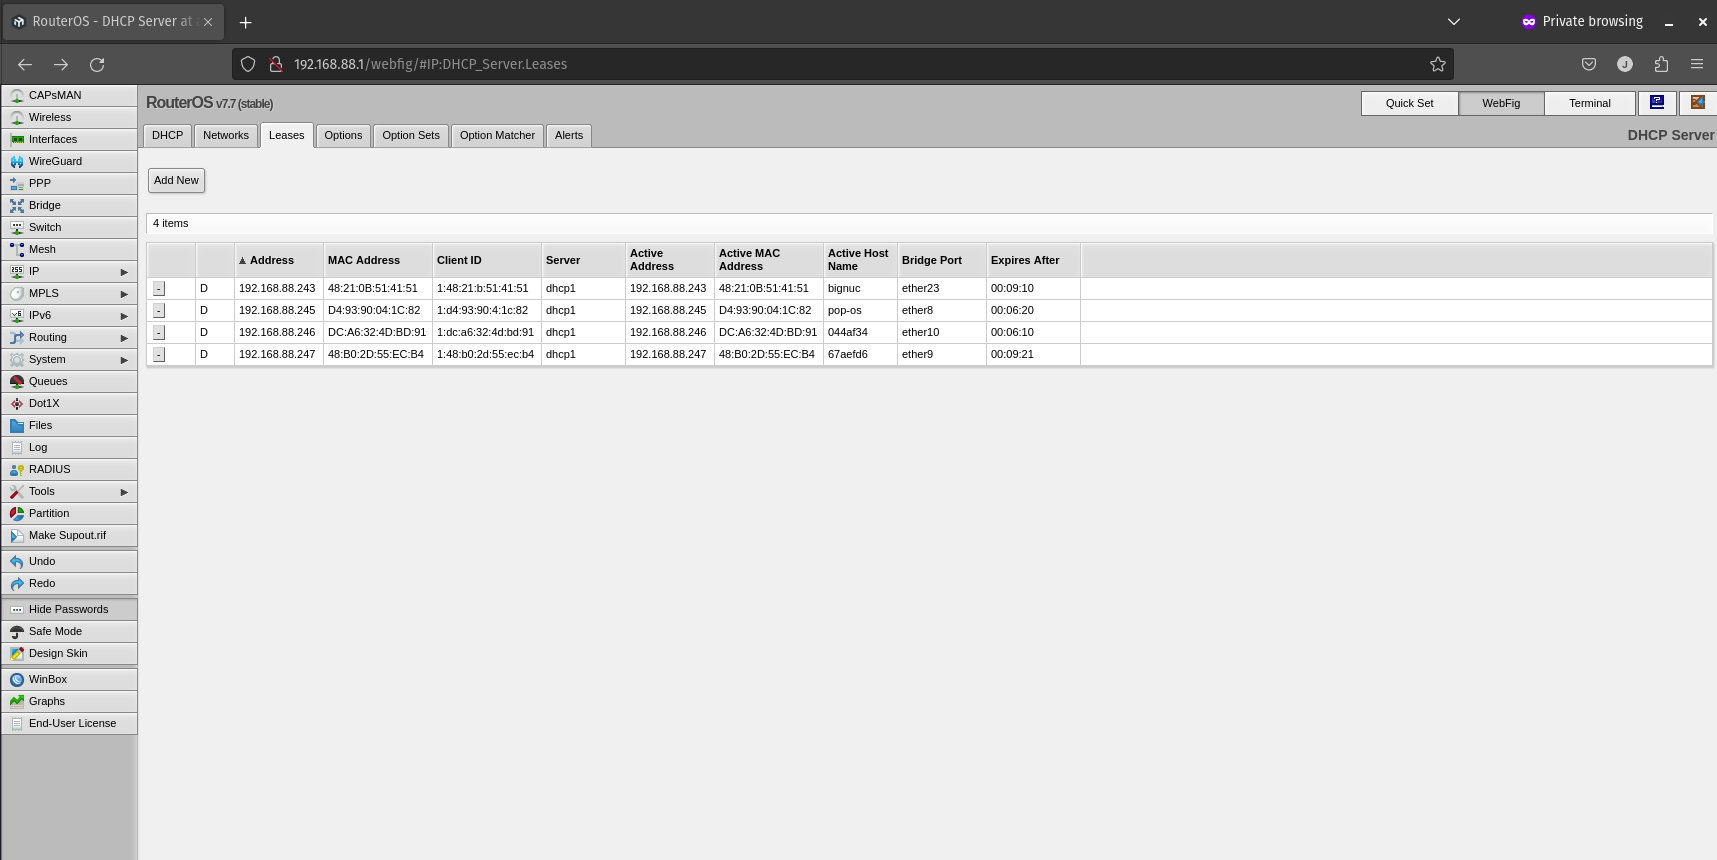
- Then click on your server's IP.
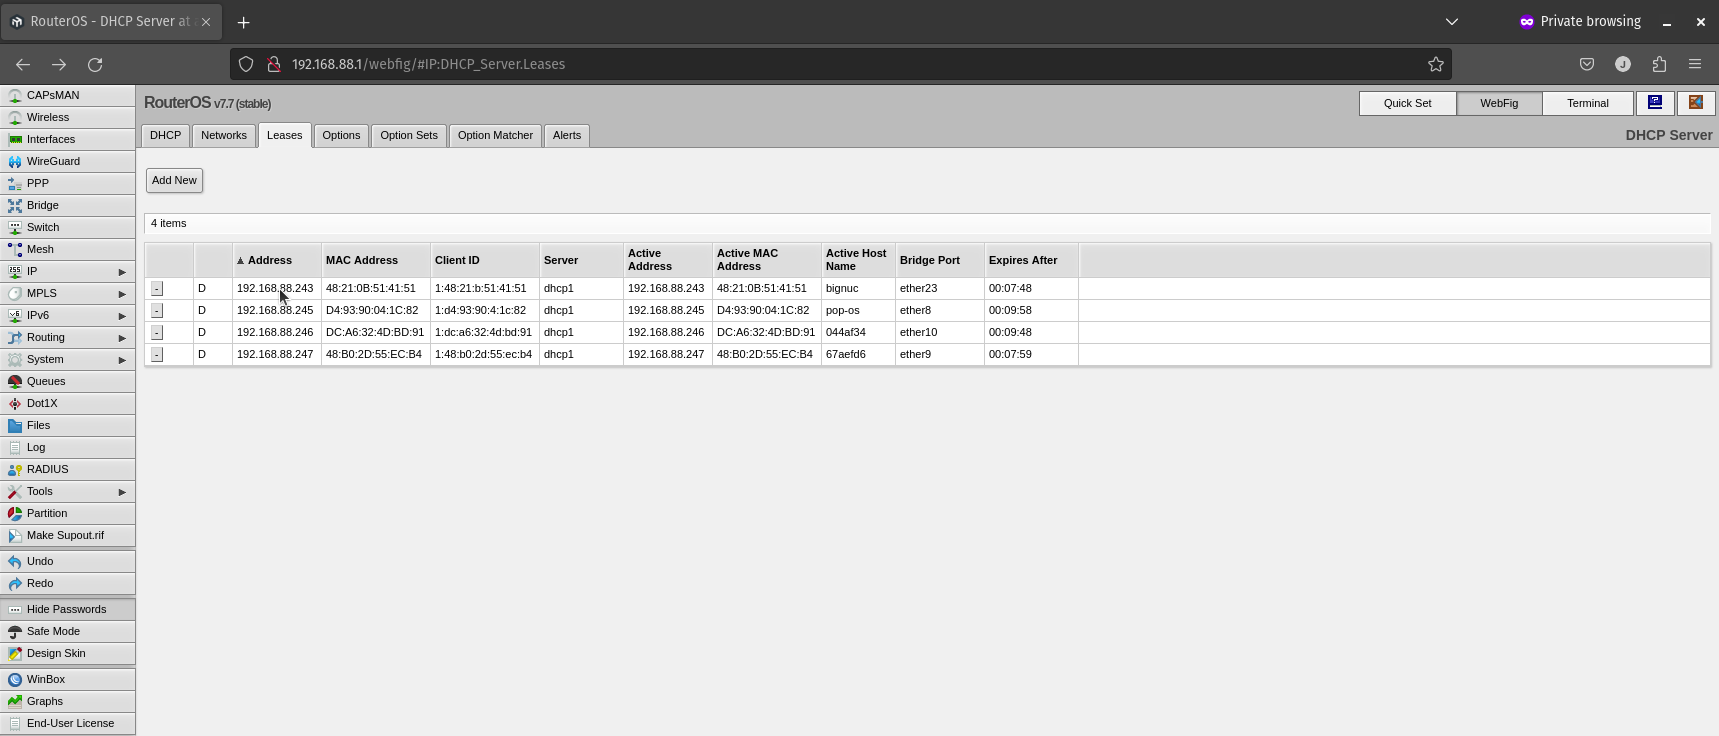
- Then click on
Make Staticon the top of the page if available.
Step 2 - Setting up DNS
- Click on
IP->DNSon the left-side menu. - Set
Serversto the IP of the server machine. - Tick
Allow Remote Requests. - Click
Ok.
Step 3 - Setup NTP Server entry
Now, let's set up the network's NTP (network time protocol) server to guarantee device-to-device synchronization. This may differ in different RouterOS versions.
Some RouterOS versions do not have a "NTP Server" tab. In these cases please set the server IP in "SNTP Client" tab. After clicking "Apply" you can skip the rest of this guide.
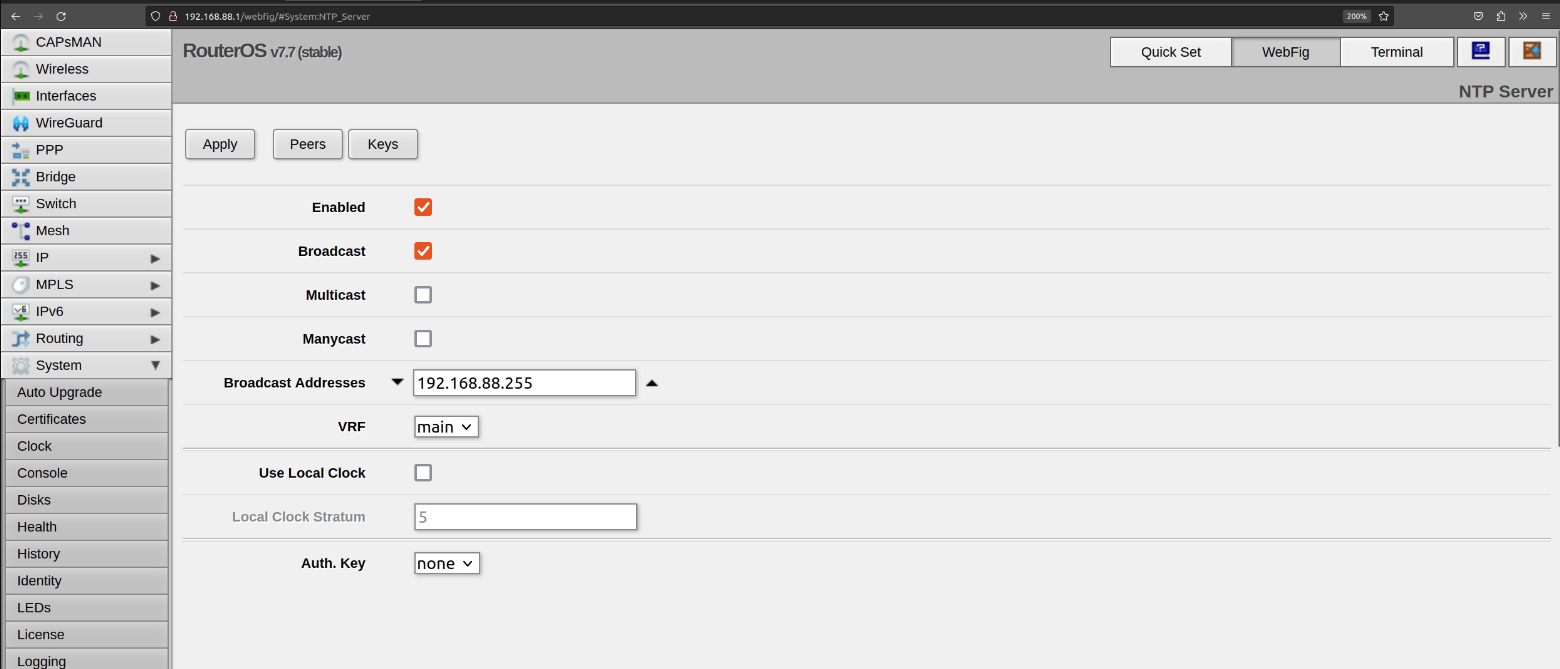
- Select
System>NTP Serverfrom the vertical menu on the left.
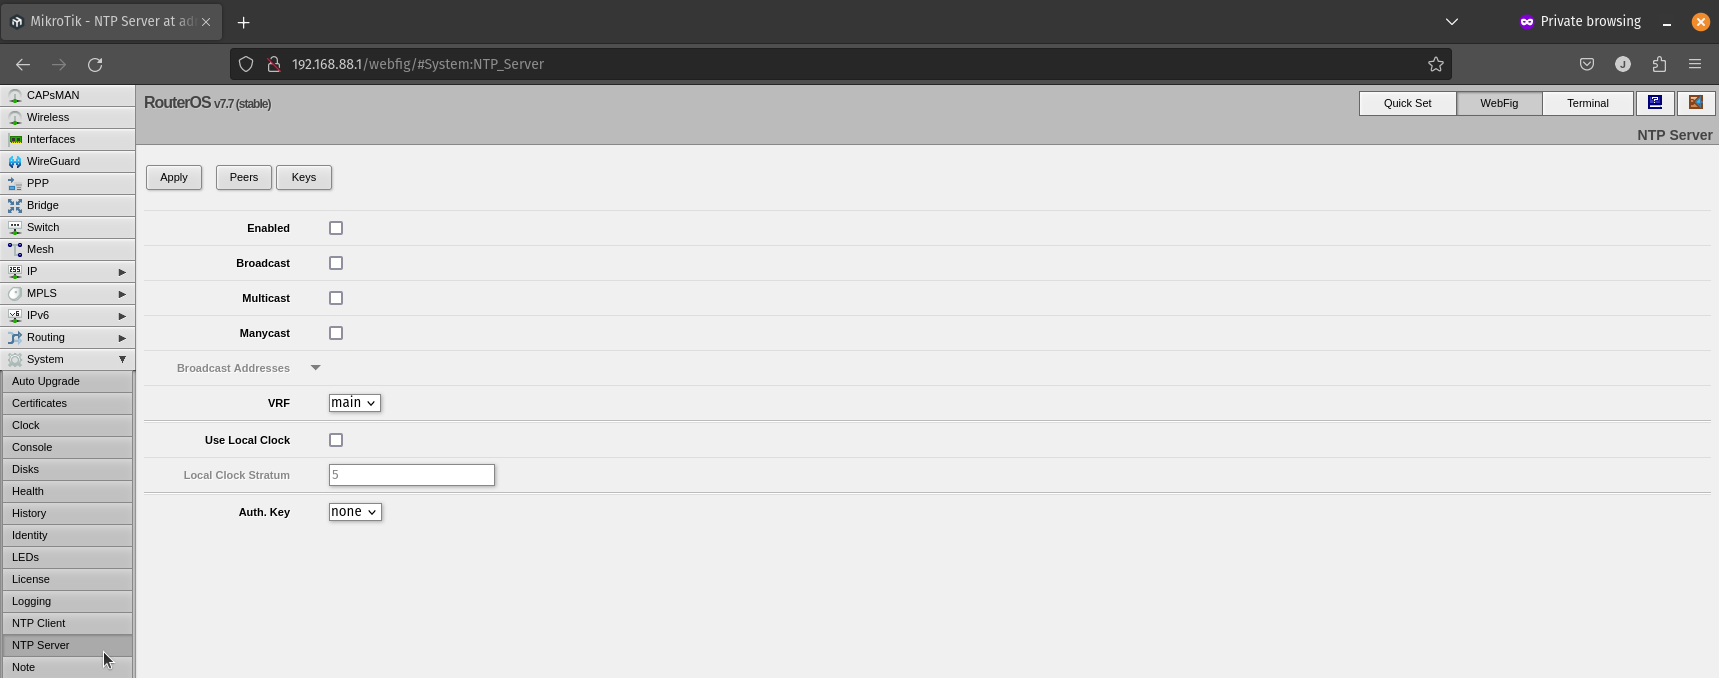
- Then toggle the options
EnabledandBroadcast. On the theBroadcast Addressplease input192.168.88.255and click Apply.
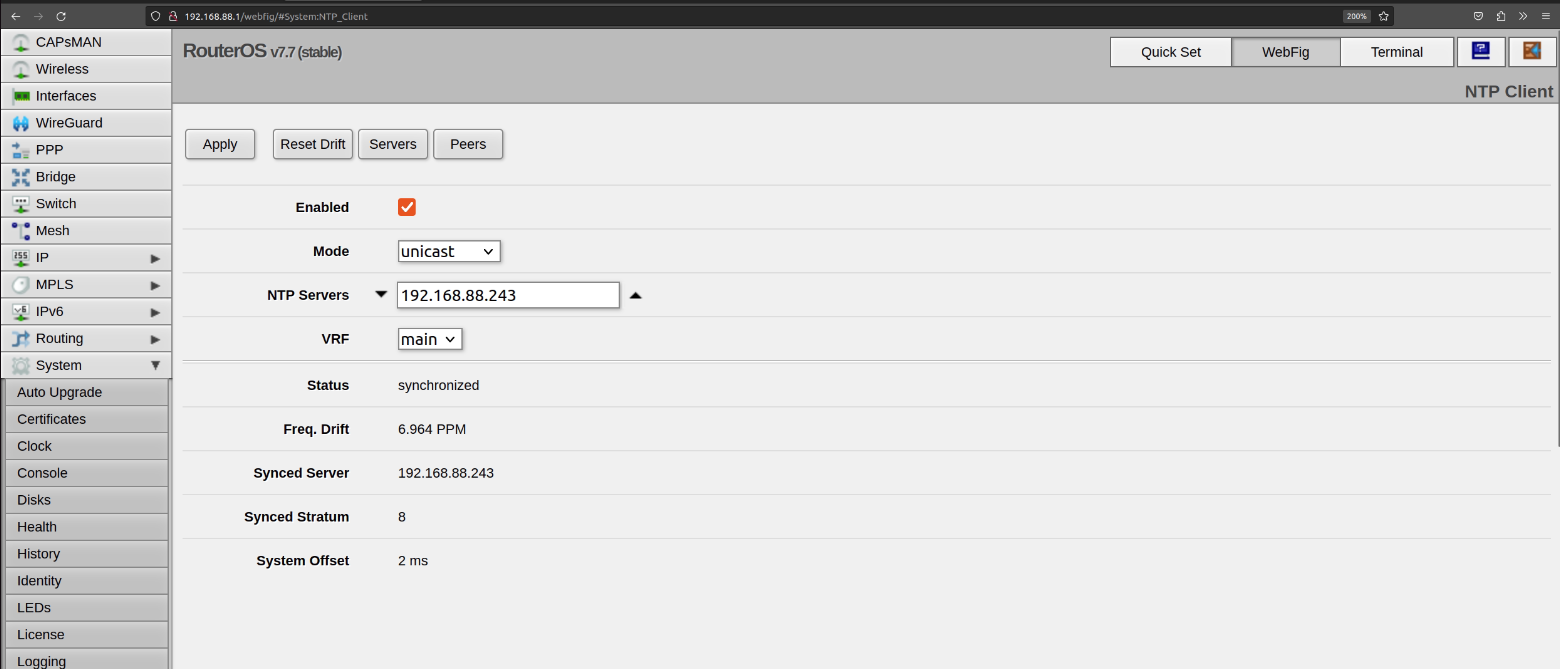
- Now select
System>NTP Clientfrom the vertical menu on the left. - Toggle the options
Enabledand input your server in theNTP Serversfield. - Finally, click
Apply.
And done! Now please unplug and re-plug your machine's Ethernet cable.
You have set up the router to run Aivero's services. You can close the window and move on to the server install.
Updated 2 months ago