Windows - Python scripts Installation
Here we describe the installation steps for the Python scripts in an Windows machine. We will make use of WSL (Windows Subsystem for Linux) to install the scripts.
Installation
Aivero provides the Python scripts as a tar file for its customers, please contact Aivero to obtain it if you cannot find it.
Please download the file and report back to this document.
Setting up Windows Subsystem for Linux
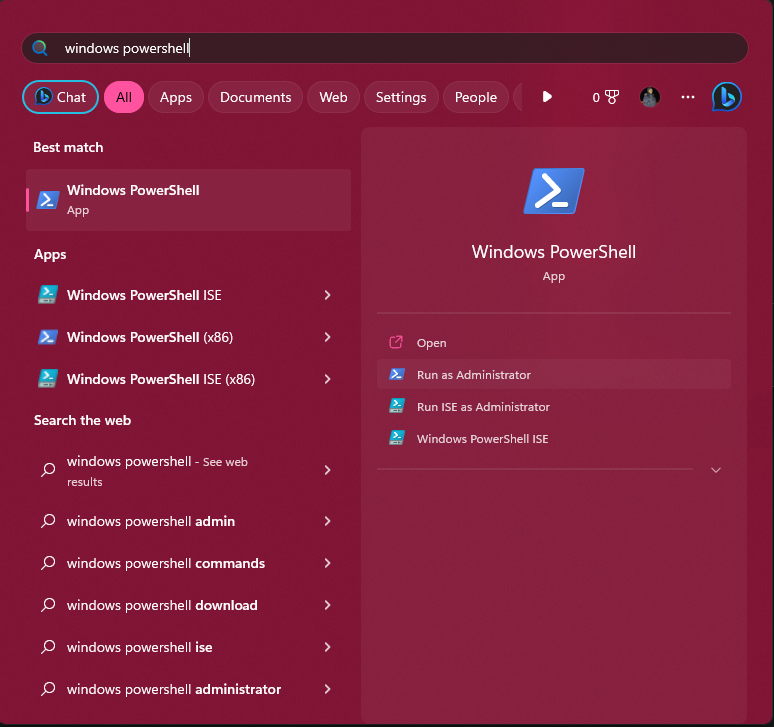
First, launch Windows PowerShell in Administrator mode. You can do this by typing the name of the command on your Start menu from windows, as shown below.

When PowerShell opens up, you need to install the Windows Subsystem for Linux (WSL), with Ubuntu-22.04. You will be prompted to setup a username and a password. Write these down, you will need them later. In order to install you can use the following one time command:
wsl --install --distribution Ubuntu-22.04Your PowerShell should look as follows:

Next, we want to connect to the Ubuntu container, where the Aivero Python interface will be hosted at. Any time you want to access said interface, you must type the following command to your PowerShell, replacing $USER by the username you saved during the installation:
wsl --distribution Ubuntu-22.04 --user $USERLike so:

You will now connect to a Linux virtual environment, running the Ubuntu-22.04 distribution. You will be connected to a mounted volume, which is where Windows runs e.g. /mnt/c/Users/$YOUR_WINDOWS_USERNAME. At this stage, you will want to navigate to the folder where you have downloaded the file containing the Python interface (aivero-python-interface-x.x.x.tar).
In most cases, your file will be located in your Downloads folder. You can navigate to it by running the command:
cd DownloadsYou should now be located at /mnt/c/Users/$YOUR_WINDOWS_USERNAME/Downloads. In this folder we will run another command to make sure the file is accessible to the Linux virtual environment, and copy the file to your Ubuntu home folder:
sudo cp aivero-python-interface-x.x.x.tar /home/$YOUR_VIRTUAL_USERNAME/.You will be prompted for the password of your Linux virtual environment user. After you type it, the file will be stored in the directory stated above and you will want to navigate to that folder:
cd /home/$YOUR_VIRTUAL_USERNAMEThe rest of this installation, presents the same steps as a regular Ubuntu installation, which can be found below.
Dependencies
Install Python3, pip, build-essential (gcc) and pkg-config.
sudo apt install python3-pip build-essential pkg-configThen install our requirements file:
pip3 install -r requirements.txtUnpack and configure 3DQ API
sudo mkdir -p /opt/aivero/apy
sudo chown $USER:$USER -R /opt/aivero/apy
tar xvf aivero-python-interface-deployment.tar.bz2 -C /opt/aivero/apy
cd /opt/aivero/apy
source dddq_environment.sh
Updated about 2 months ago
