Setting up Aivero services on Router
In the following guide we will setup:
Static DHCPfor the server's IP - this allows for a stable server IP, so that it doesn't change.Static DNSentry - this allows for any machine that connects to the router to be able to resolve the server's domain (e.g. ds.aivero.lan).NTP Serveraddress which guarantees device-to-device synchronization for the router connected devices.
Step 1 - Setup server static DHCP entry.
-
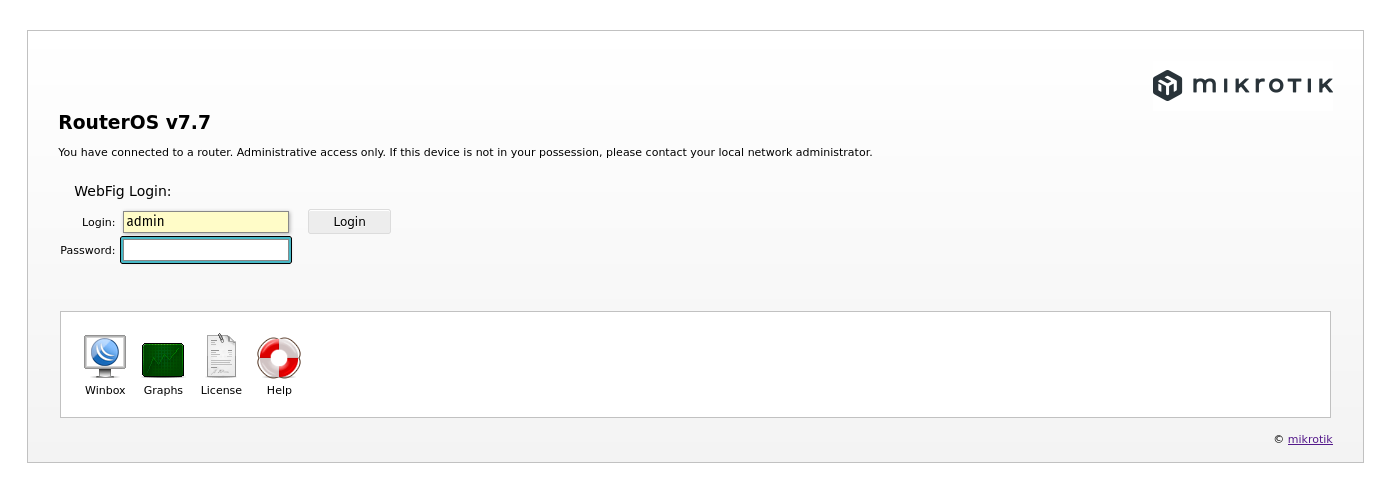
In a router connected machine, access
192.168.88.1in your browser and login using the user configured credentials (loginadminand empty password in our case).
-
On the vertical menu on the left got to
IP>DHCP Server. -
On the tabs on the top of the page click on
Leases.
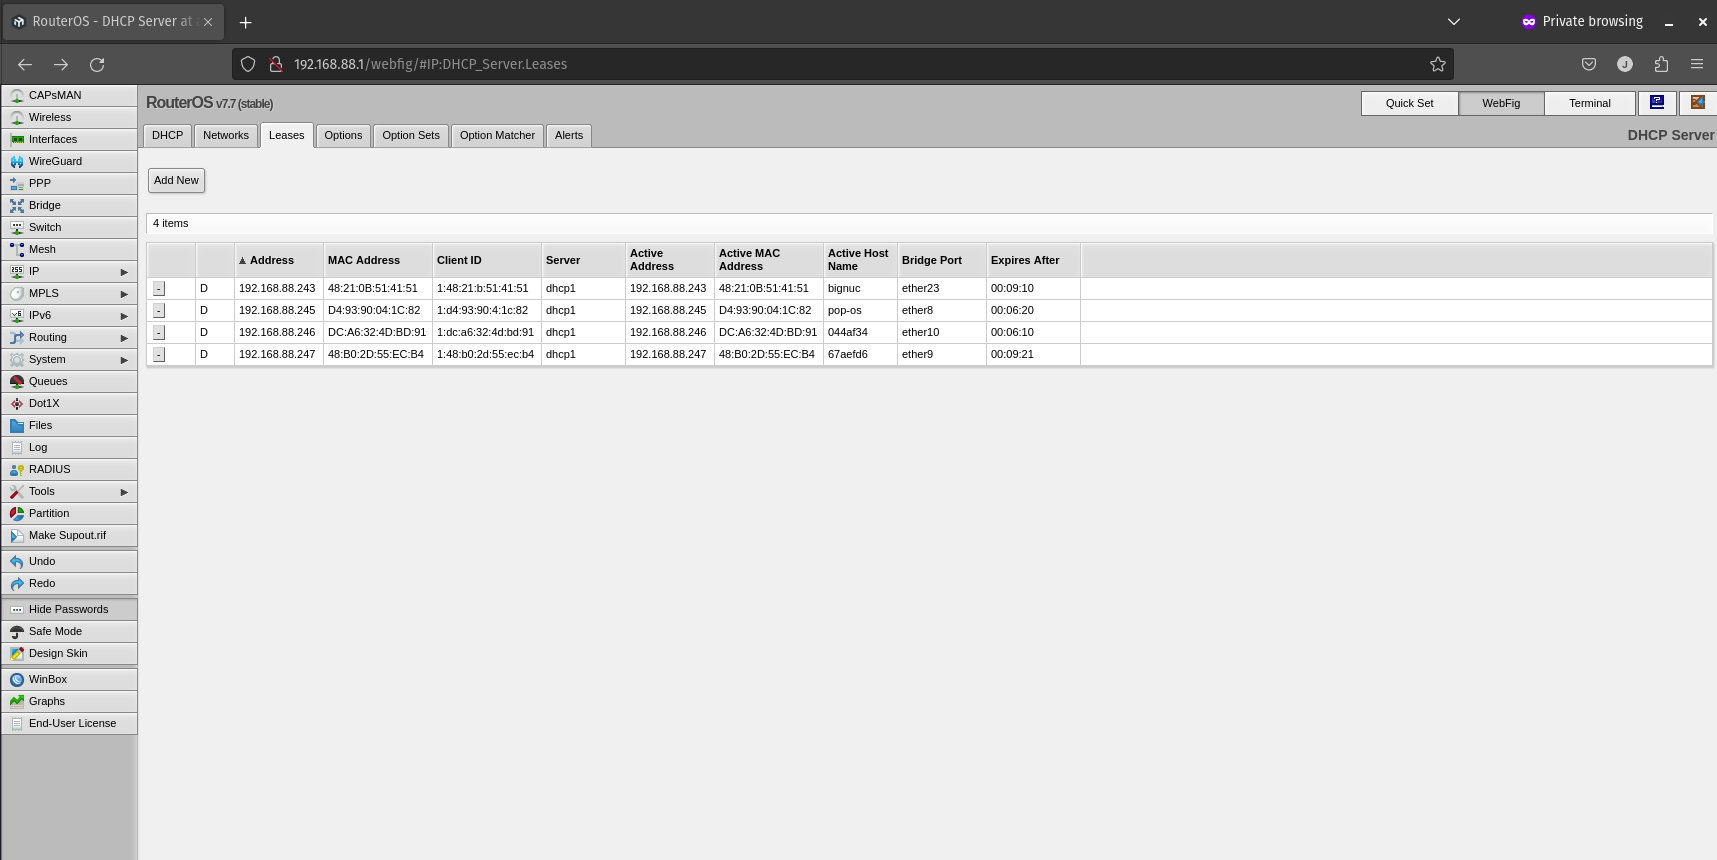
- Then click on your server's IP.
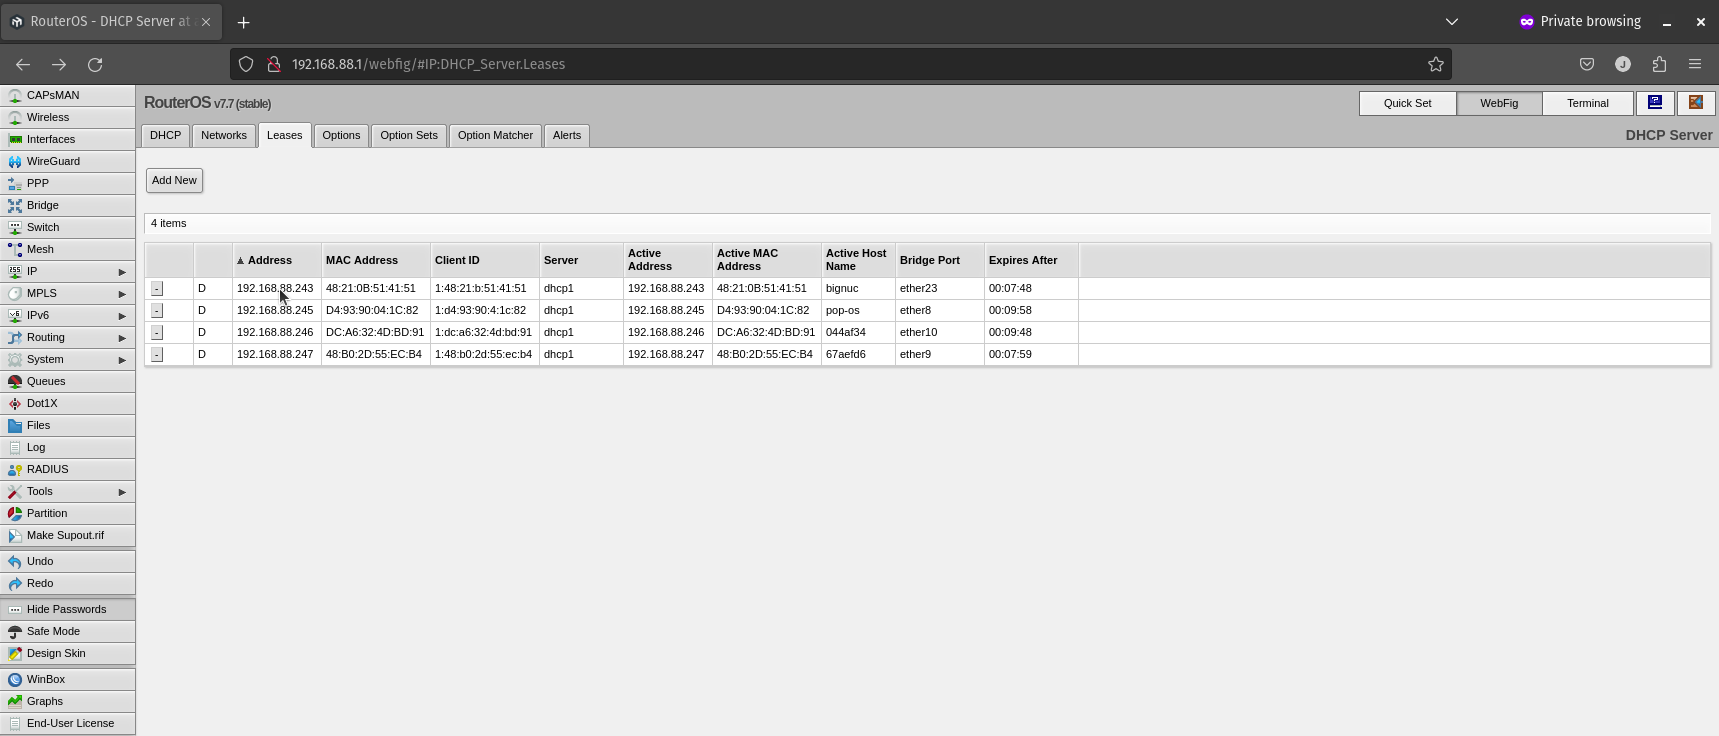
- Then click on
Make Staticon the top of the page if available.
Step 2 - Setting up DNS
- Click on
IP->DNSon the left-side menu. - Set
Serversto the IP of the server machine. - Tick
Allow Remote Requests. - Click
Ok.
Step 3 - Setup NTP Server entry
Now, let's set up the network's NTP (network time protocol) server to guarantee device-to-device synchronization. This may differ in different RouterOS versions.
🚧 Some RouterOS versions do not have a "NTP Server" tab. In these cases please set the server IP in "SNTP Client" tab. After clicking "Apply" you can skip the rest of this guide.
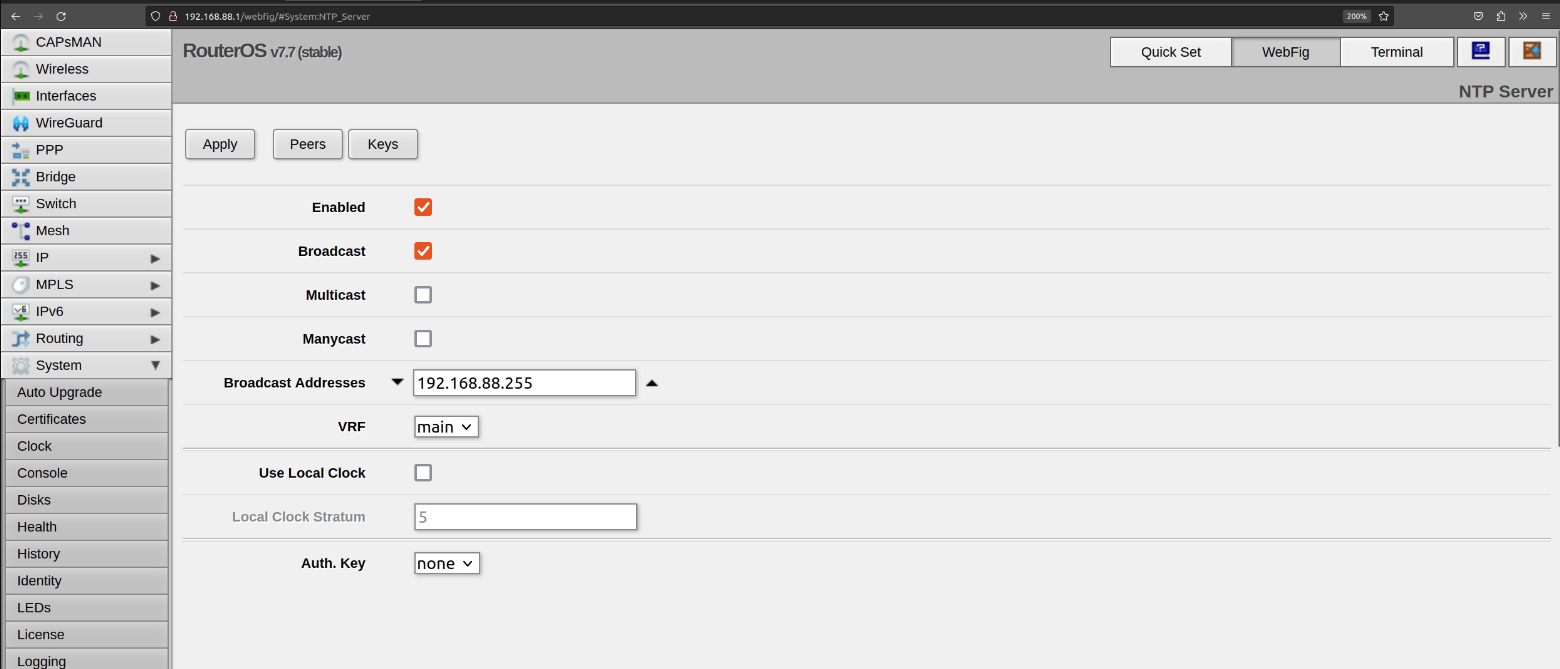
- Select
System>NTP Serverfrom the vertical menu on the left.
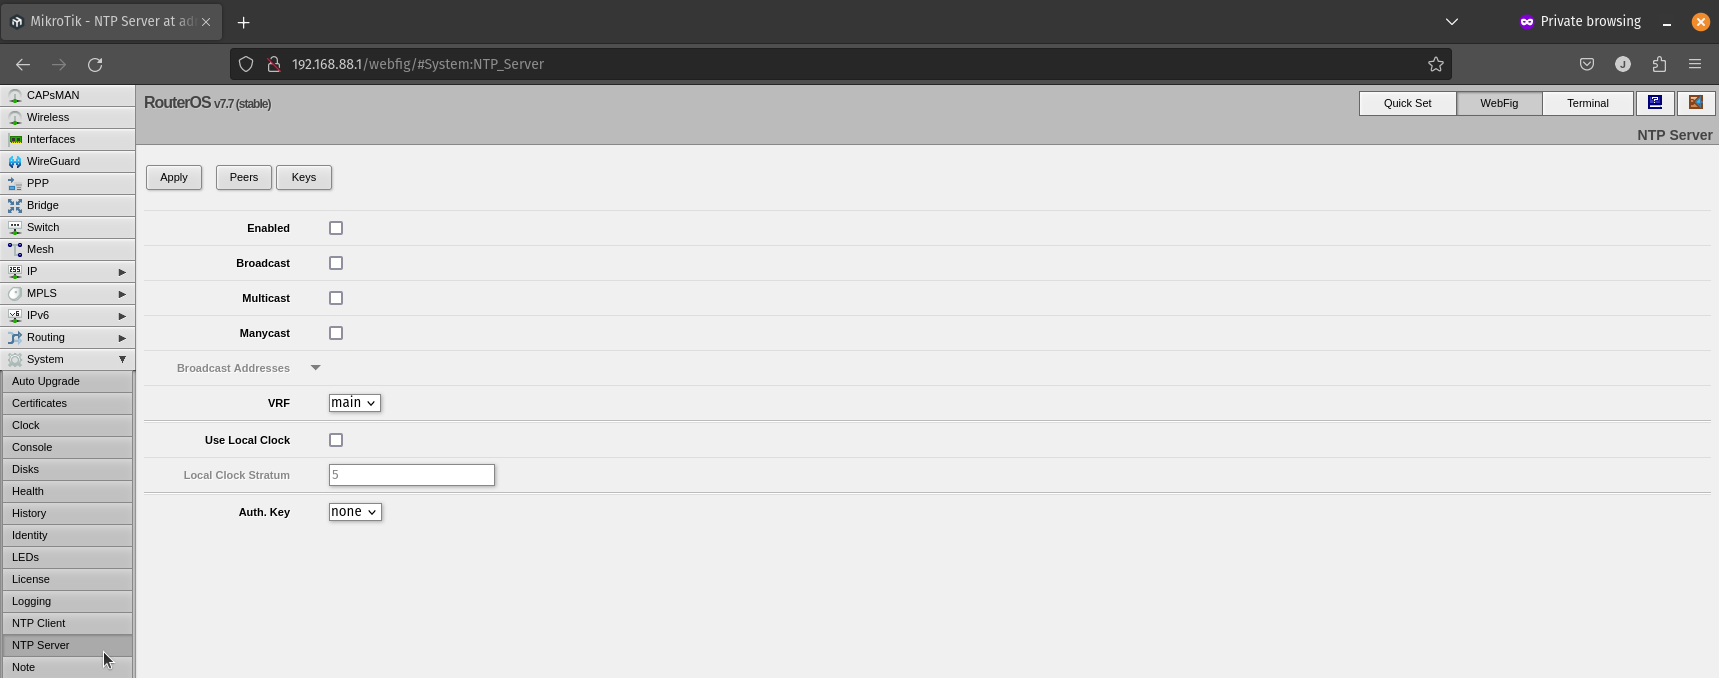
- Then toggle the options
EnabledandBroadcast. On the theBroadcast Addressplease input192.168.88.255and click Apply.
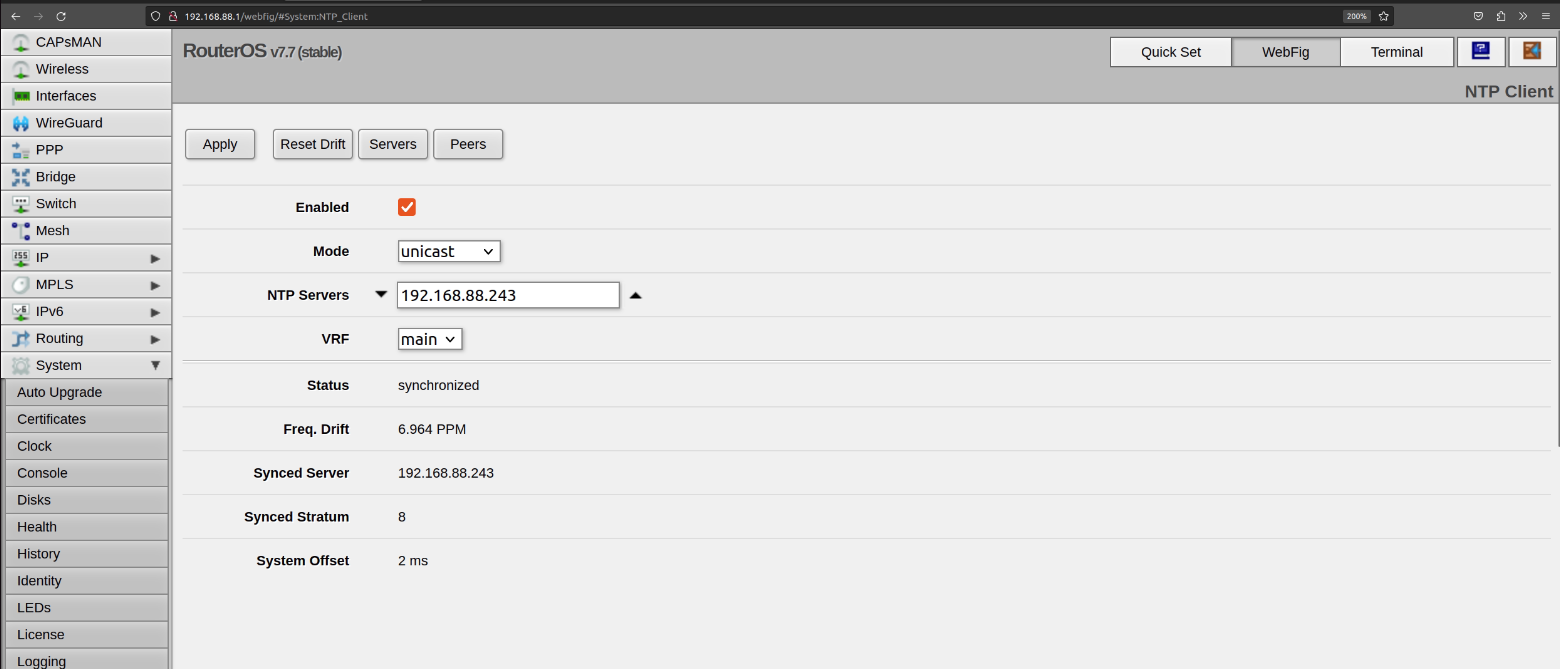
- Now select
System>NTP Clientfrom the vertical menu on the left. - Toggle the options
Enabledand input your server in theNTP Serversfield. - Finally, click
Apply.
And done! Now please unplug and re-plug your machine's Ethernet cable.
You have set up the router to run Aivero's services. You can close the window and move on to the server install.